Before picking a platform to start selling online courses for your business, read my review of Thinkific.
I've used Thinkific for years and have created and taken many courses on the platform. I'll walk you through the pros and cons, talk about my favorite features, and compare it to the other top online course providers.
With over 60,000 active course creators and more than 100 million course enrollments, Thinkific is one of the most established platforms in the space. Here's my honest take on whether it's the right fit for you.
Note: Thinkific removed its free plan in 2025 and replaced it with a 14-day free trial (30-day trial with the link below). Several older reviews still reference the free plan as a key selling point. It no longer exists. I've updated everything below to reflect the current platform.
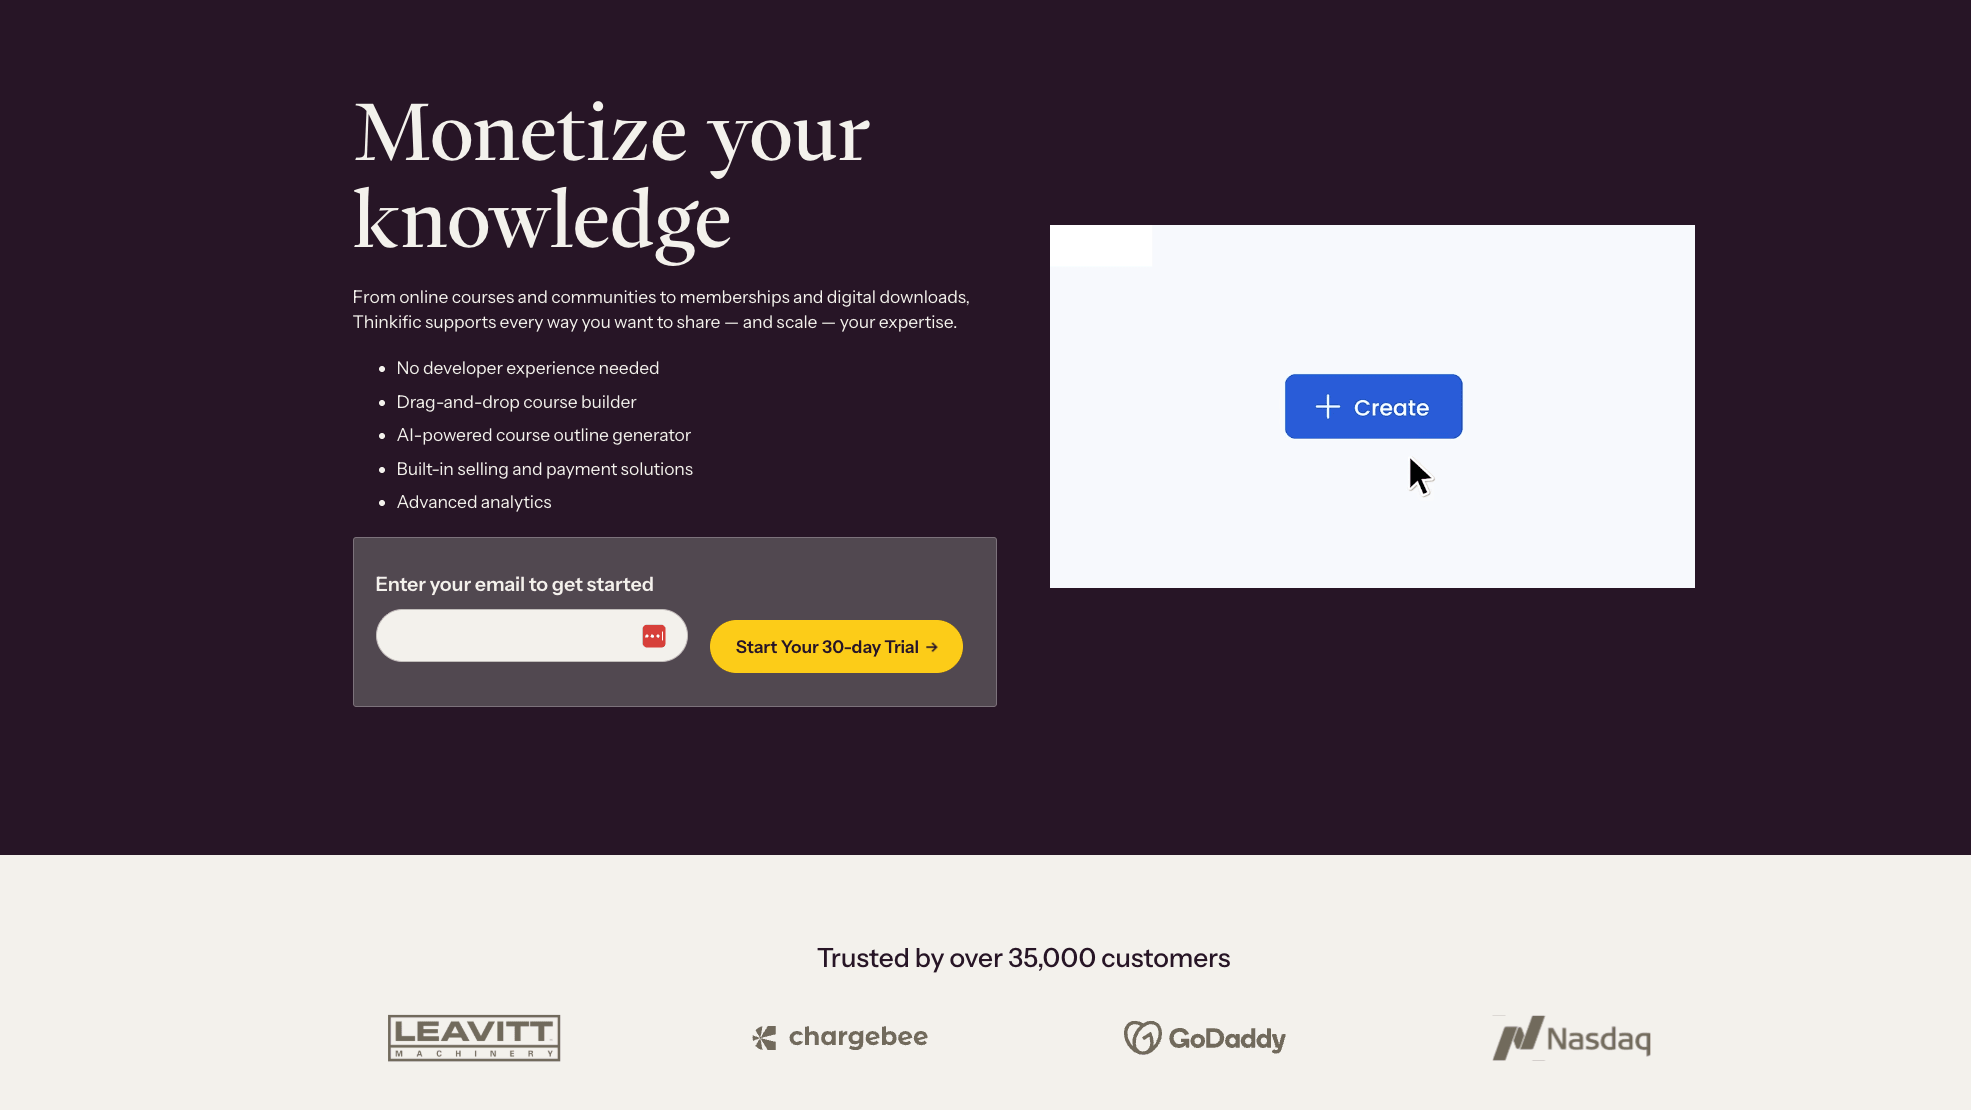
See for yourself with a 30-day free trial
Explore how easy it is to create, market, and sell your own online course.
Start Free TrialWe offer this website completely free to our visitors. To help pay the bills, we’ll often (but not always) set up affiliate relationships with the top providers after selecting our favorites. However, we do our best not to let this impact our choices. There are plenty of high-paying companies we’ve turned down because we didn’t like their product.
An added benefit of our relationships is that we always try to negotiate exclusive discounts for our visitors.
Thinkific Review: The Good and Bad
Thinkific Video Review
Pros
- 0% platform transaction fees on all paid plans. One of the few platforms that charges nothing on sales regardless of which tier you're on.
- Phone support on the Grow plan. Thinkific is the only major course platform to offer phone support at this price tier.
- Unlimited courses on every paid plan, starting at Basic.
- Deep customization options to match the look and feel of your website.
- Custom domain on all paid plans.
- Voice-over PowerPoint presentation tool that makes video production easier.
- Student payment options include installment plans and recurring subscriptions.
- AI-assisted course outline generator and guided onboarding for faster setup.
- 14-day free trial with no credit card required.
Cons
- No free plan (removed in 2025). Entry price is now $49/month ($36/month annually).
- Stripe surcharge of 1-5% applies if you use your own Stripe instead of Thinkific's built-in TCommerce processor. Basic plan users pay 5%, Start 2%, Grow 1%.
- No integrated email marketing. You can connect third-party providers like Mailchimp and ConvertKit, but there's no native email automation.
- No integrated sales funnel builder. Requires third-party tools like ClickFunnels or Leadpages.
- All standard plans cap you at 10,000 students. Unlimited students requires the Plus plan (custom enterprise pricing).
- No course marketplace to help students discover your course organically.
- No live chat support. Email and phone support only (phone on Grow plan).
Recognizable Thinkific Customers
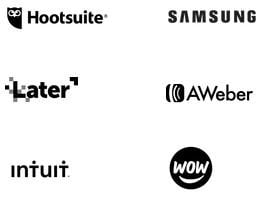
Thinkific is used by over 60,000 active course creators and includes well-known names like Lewis Howes (School of Greatness), John Lee Dumas (Entrepreneur on Fire), and Sunny Lenarduzzi. Enterprise customers include Samsung, Hootsuite, Intuit, and AWeber.
The platform has processed over 100 million course enrollments across 190 countries, and creators generated a gross merchandise volume of $459 million in 2024 alone.
Thinkific Pricing
See for yourself with a 30-day free trial
Explore how easy it is to create, market, and sell your own online course.
Start Free TrialThinkific removed its free plan in 2025. All accounts now start with a 14-day free trial (no credit card required) before choosing a paid plan. Annual billing saves 25% across all tiers.
- Basic ($49/mo, $36/mo annually) Unlimited courses, 1 community with 5 spaces, 1 admin, unlimited students (up to 10,000), 0% transaction fees, custom domain, affiliate selling, email and live chat support.
- Start ($99/mo, $74/mo annually) Everything in Basic plus completion certificates, memberships and payment plans, live lessons via Zoom, assignments, bundles, advanced course options, and 10 community spaces. Best overall value for most creators.
- Grow ($199/mo, $149/mo annually) Everything in Start plus 3 communities, 20 spaces per community, 2 admin accounts, branding removal, bulk student emailer, bulk enrollments, API access, and priority phone and email support.
- Plus: Custom enterprise pricing. Unlimited everything, dedicated success manager, SSO, enterprise API, and white-label environments. Used by Samsung, Intuit, and Hootsuite.
Important: If you use your own Stripe account instead of Thinkific's native TCommerce processor, Thinkific adds a payment surcharge: 5% on Basic, 2% on Start, 1% on Grow. Using TCommerce avoids this entirely. This is one of the platform's less-publicized costs worth knowing before you commit.
Review of Thinkific's Best Features

1. Deep Customization and Flexibility
Thinkific has more customization options than most competing platforms. You can brand your courses and storefront to match your existing website, offer quizzes, surveys, student discussions, prerequisite lessons, and completion certificates (on Start plan and above). For technical users, Thinkific also gives full access to modify HTML and CSS.
For anything not built into the platform, Thinkific's App Store has 80+ integrations, including Mailchimp, ConvertKit, Infusionsoft, and Brillium Exams. And if a third-party isn't already integrated, Zapier connects Thinkific to almost anything.
2. Phone Support
Thinkific is the only major course platform to offer phone support. It's available on the Grow plan ($149/month annually), which is unusual in an industry where most platforms limit you to chat and email even at premium price points. For creators who value real support when things go wrong, this is a genuine differentiator.
3. 0% Transaction Fees on All Paid Plans
Unlike Teachable (7.5% on Starter) and Podia (5% on Mover), Thinkific charges 0% platform transaction fees across all paid tiers. The caveat is the Stripe surcharge if you do not use TCommerce. If you do use TCommerce, you keep your full revenue on every sale regardless of plan.
4. AI Tools and Guided Onboarding
Thinkific added AI-powered course outline generation and a guided onboarding experience in 2024. The AI course outline generator helps you structure your content faster, while guided onboarding walks new users through setup step by step. For first-time course creators, this significantly shortens the time between signing up and publishing your first course.
Thinkific's Community Feature
Thinkific's Community feature allows course owners to create and manage a forum where students interact with each other, share knowledge, and engage with the course creator, all under your own brand.
Students can post to a shared board, comment on other posts, and share images, videos, and files. Communities can be offered as a free add-on to your course, a paid subscription, or a one-time purchase membership.
Community access varies by plan: 1 community with 5 spaces on Basic, 1 community with 10 spaces on Start, and 3 communities with 20 spaces on Grow.
Other Thinkific Features
Course Creation Tools
- Course builder: Easy-to-use templates and drag-and-drop course creation tools
- Self-paced and scheduled classes: Offer students self-paced or time-structured classes
- Live lessons and coaching: Zoom integration for live classes and virtual coaching (Start plan and above)
- Completion certificates: Available on Start plan and above
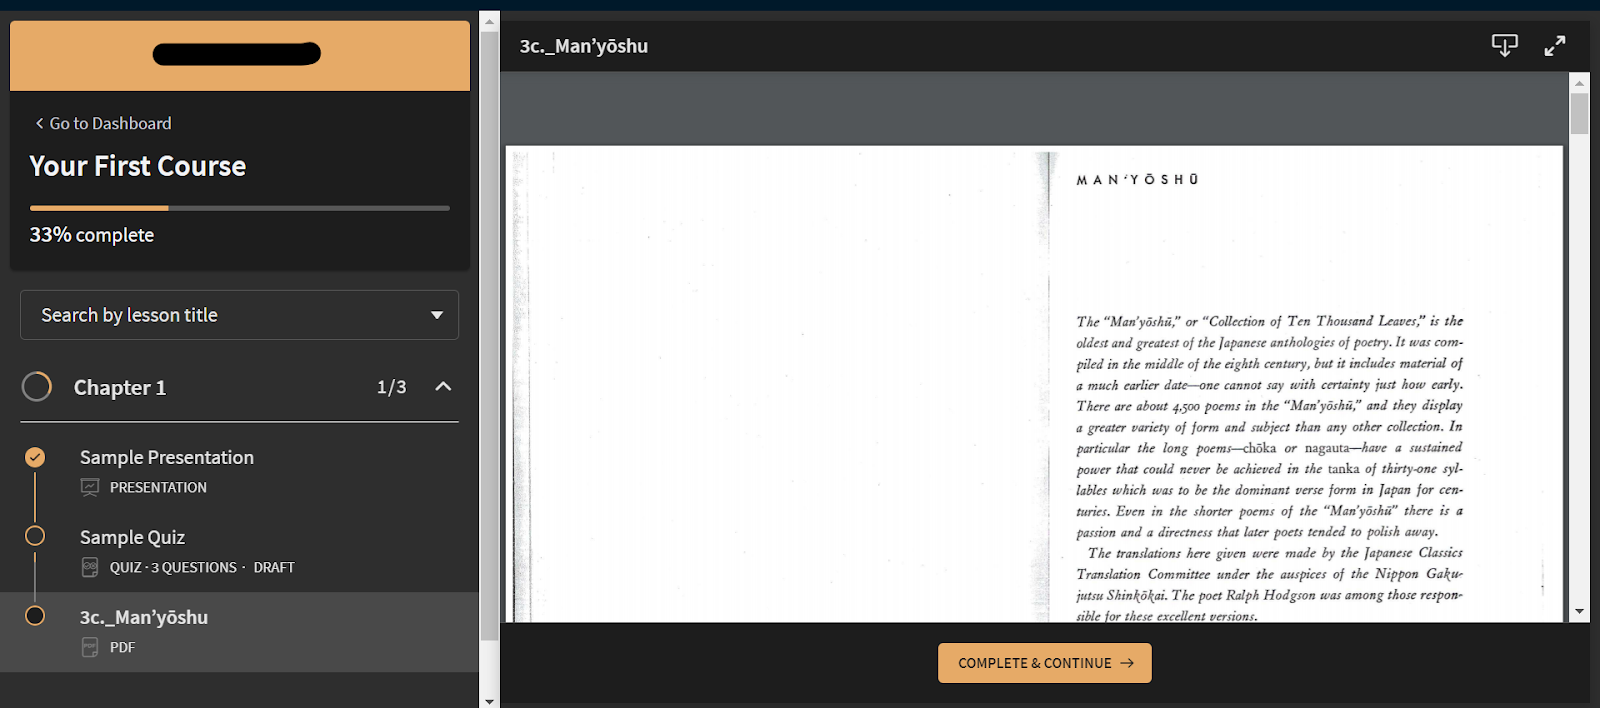
- Multimedia lessons: Video, audio, PDFs, text, quizzes, and presentations
- Communities: Forum-style student discussions and peer interaction
- Thinkific App Store: 80+ apps to extend functionality, save time, or improve marketing
- White-labeled mobile app: Available as an add-on on Basic plan and above ($199/month extra)
- AI course outline generator: Generate course structure and content ideas using AI
Website Building
- Customizable website themes: Pre-made templates with robust customization tools
- Multiple pages: Build a full website with multiple pages
- Custom domains: Available on all paid plans
- Thinkific App Store: Website-specific apps for enhanced functionality
Selling Tools
- Promotion tools: Coupons, discounts, and affiliate selling
- Product packages: Create bundles and subscriptions
- Optimized checkout: TCommerce payment processing with Apple Pay and Google Pay
- Payment plans and subscriptions: Available on Start plan and above
Grow and Scale
- White-labeled environments: Sell custom academies to different audiences (Plus plan)
- Single Sign On (SSO): OpenID Connect for seamless student login
- API access: Available on Grow plan and above
- SOC2 compliant: Enterprise-grade security for student and creator data
- Expert marketplace: Find professionals for course building, design, and marketing
Thinkific Coupon Code
The best advertised deal on Thinkific is their 14-day free trial (no credit card required) combined with annual billing, which saves 25% across all plans. Check our Thinkific discount page for any current promotional offers.
However, you can get an exclusive 30-day free trial through the link below:
See for yourself with a 30-day free trial
Explore how easy it is to create, market, and sell your own online course.
Start Free TrialHow to Create a Thinkific Course
Thinkific offers a robust set of tools to help you build a professional course site and start selling. Here's a step-by-step walkthrough.
1. Create Your Account
Go to thinkific.com and start your 30-day free trial. No credit card required.
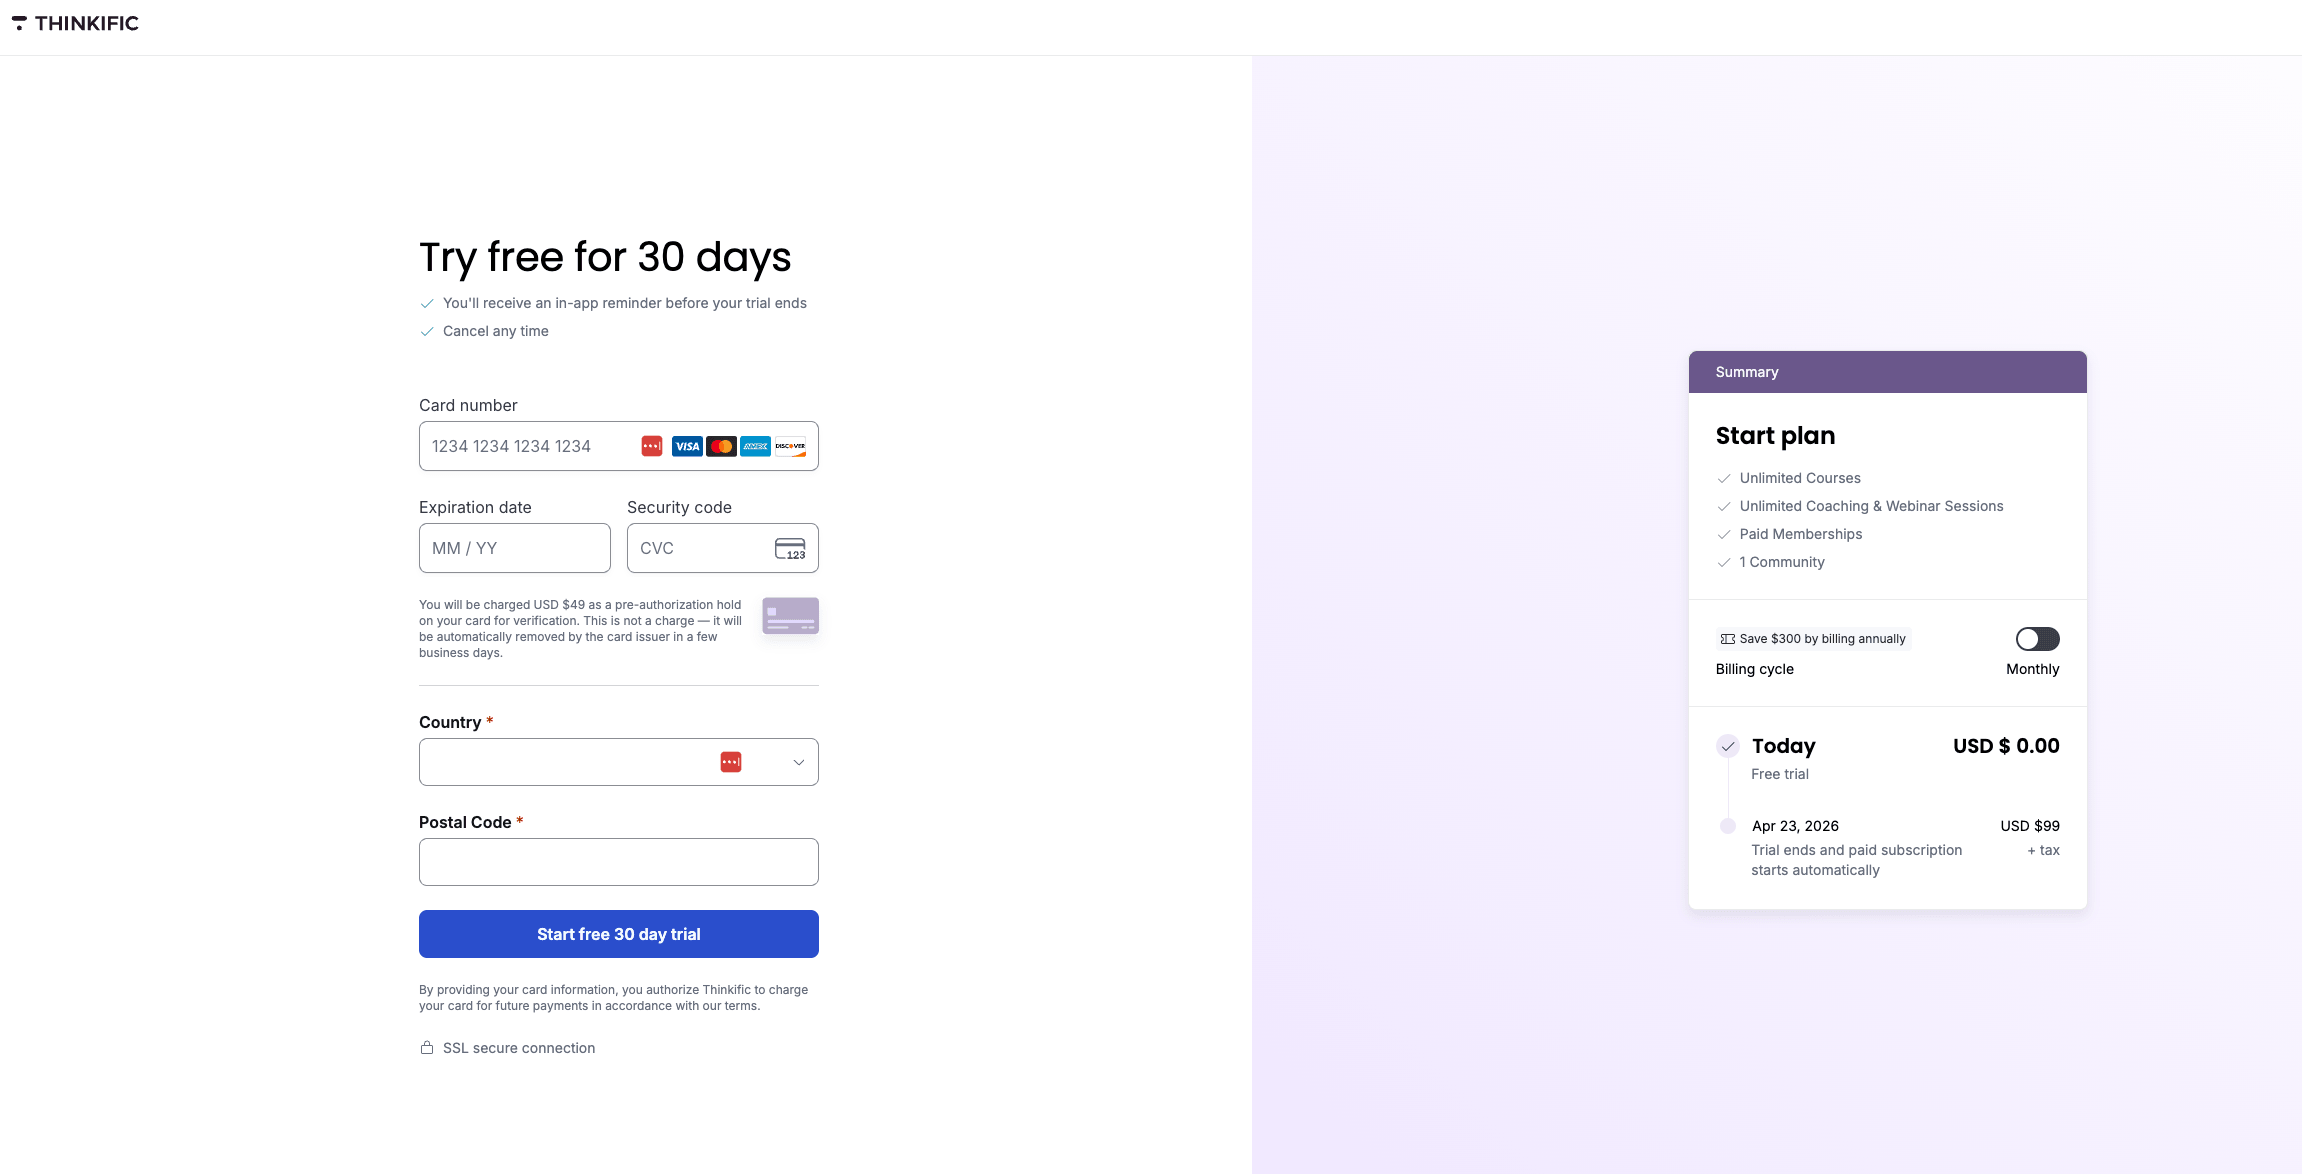
Once your account is ready, head to Settings to set your school name and custom URL. On a paid plan, you can connect your own domain. Complete your instructor profile under “Manage Learning Content” and set up your payment method (Stripe or PayPal) under “Market and Sell.”
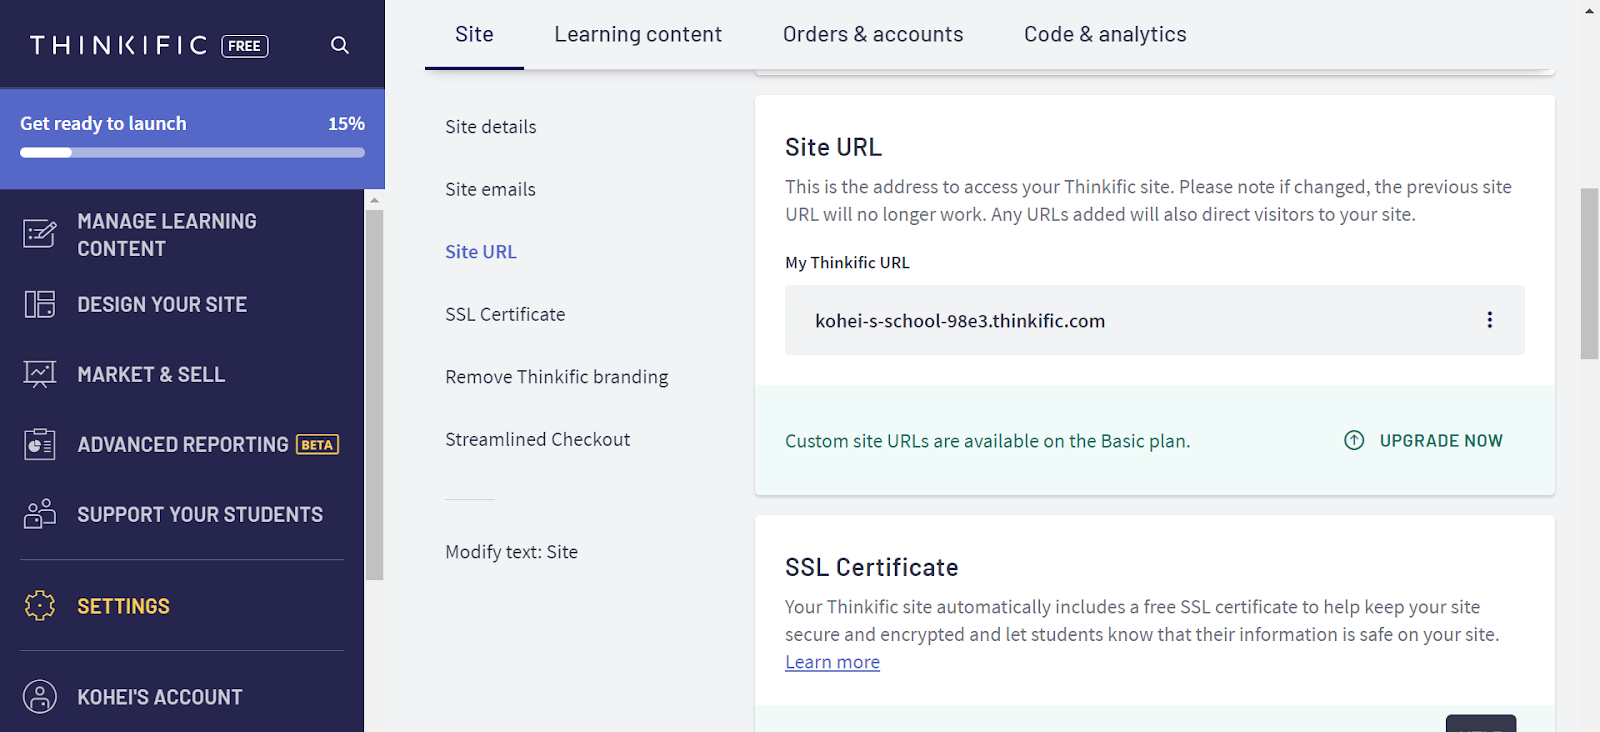
“Manage Learning Content” lets you handle courses, instructors, and video library. “Design Your Site” is where you build your storefront and select themes. “Market and Sell” covers coupons, orders, and payment integrations. “Advanced Reporting” tracks revenue, enrollments, and student engagement.
Choose a theme from Thinkific's library and customize it through the Site Builder. Start by setting your homepage banner, then build out your pages and navigation before creating courses.
[/mks_two_thirds] [/mks_col]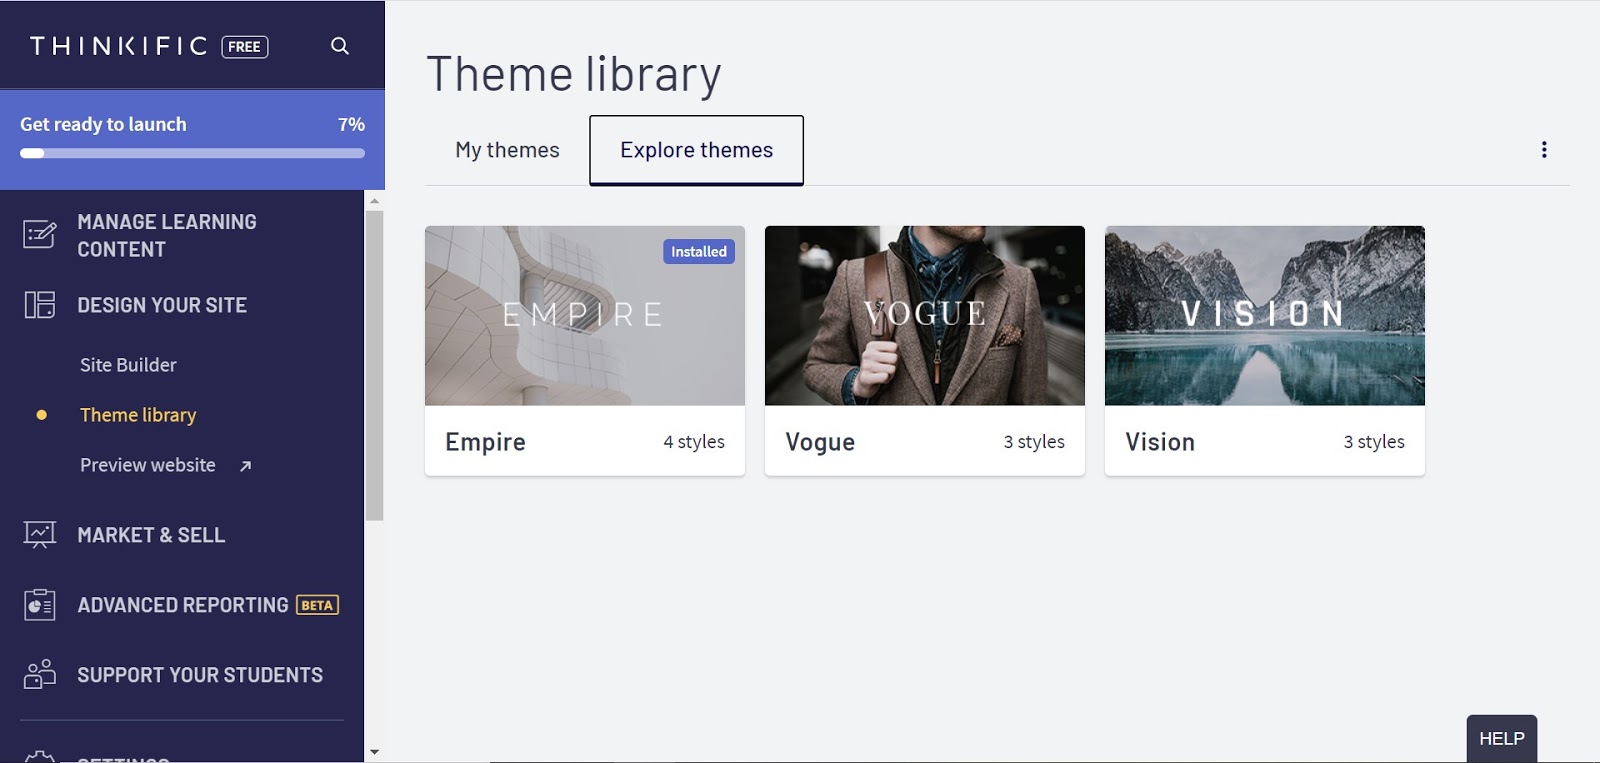
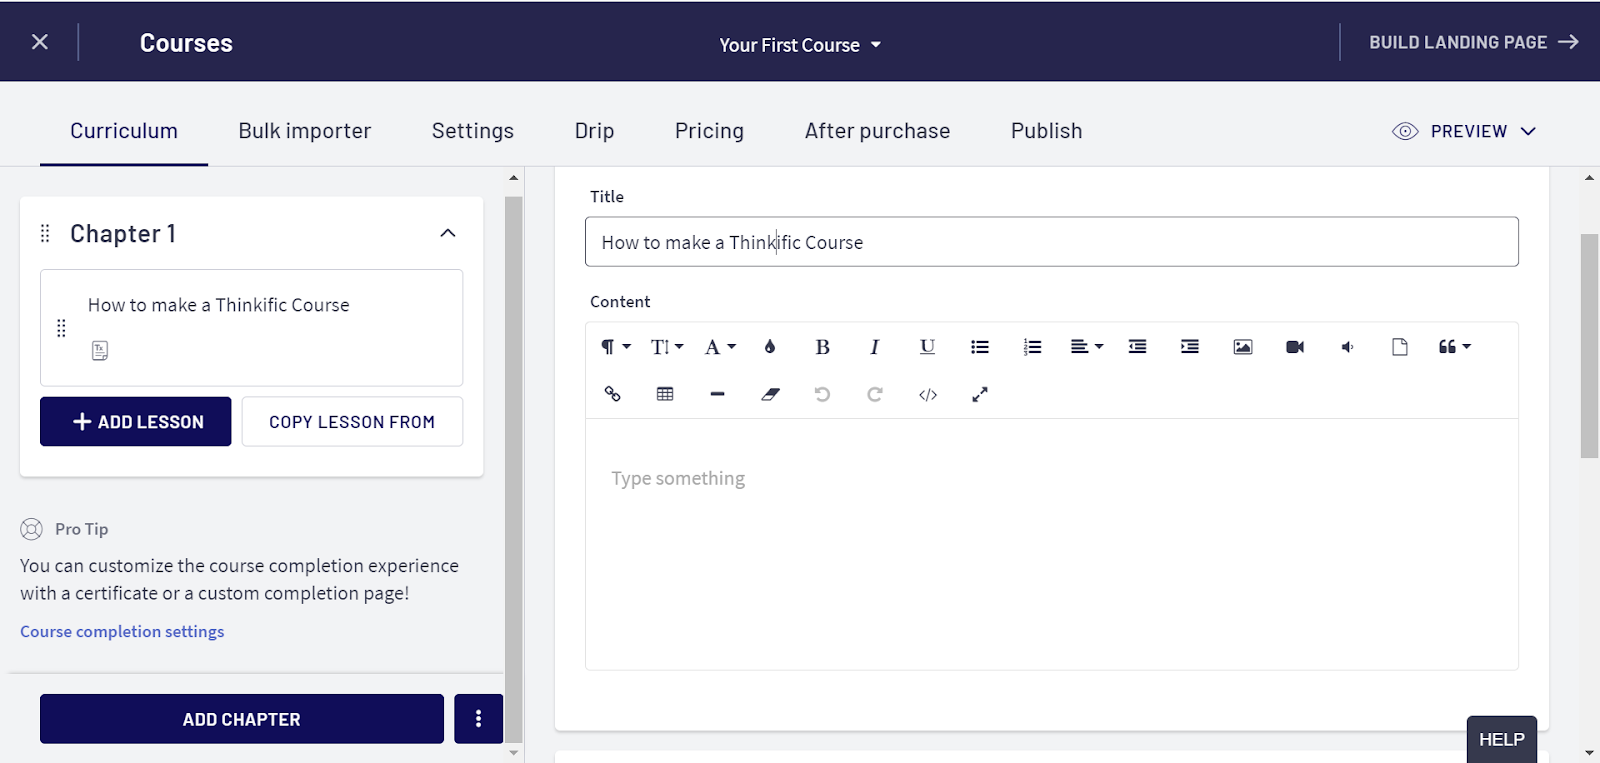
2. Create Your First Course
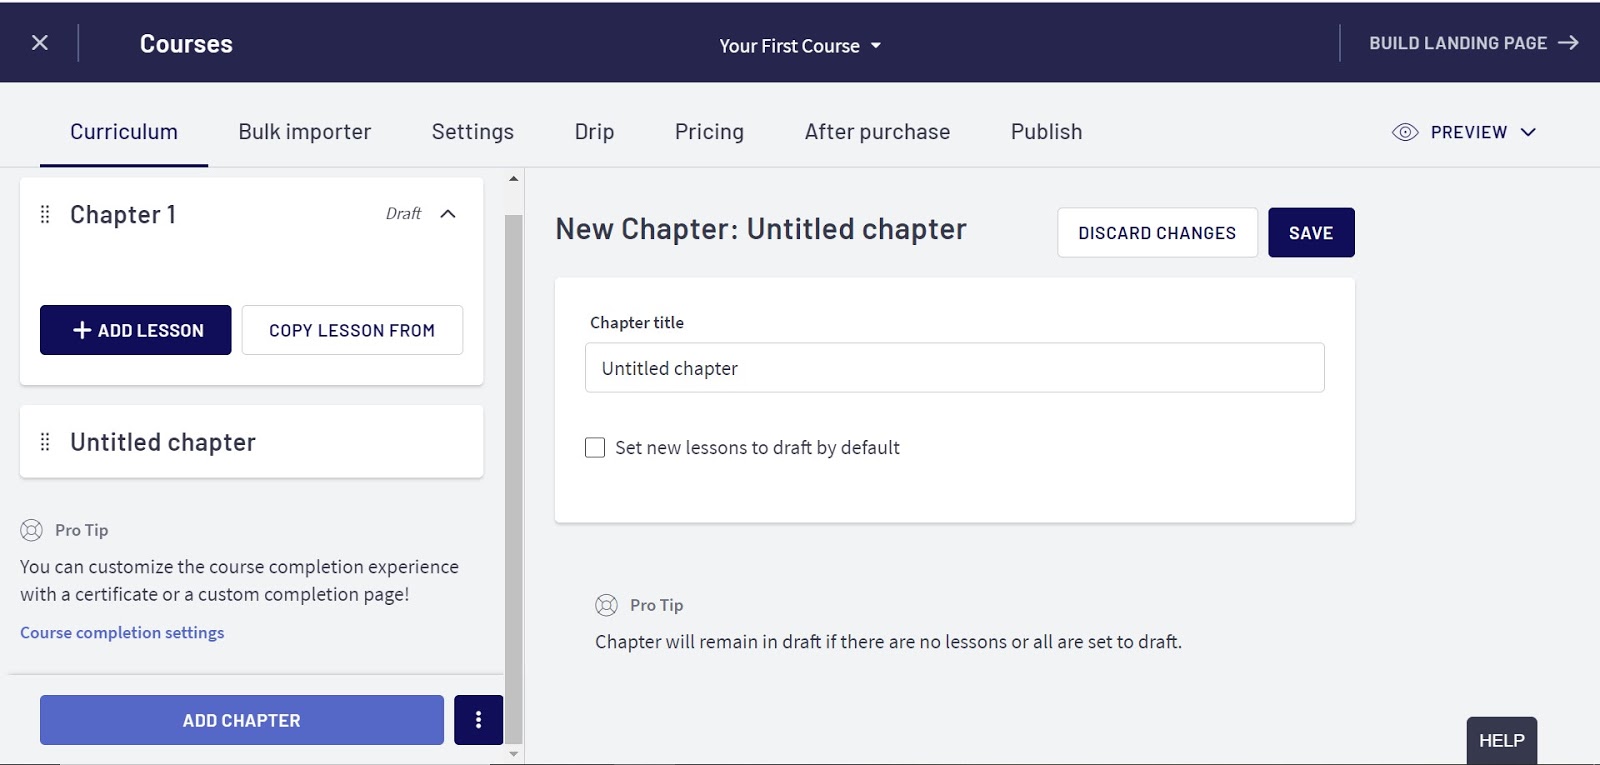
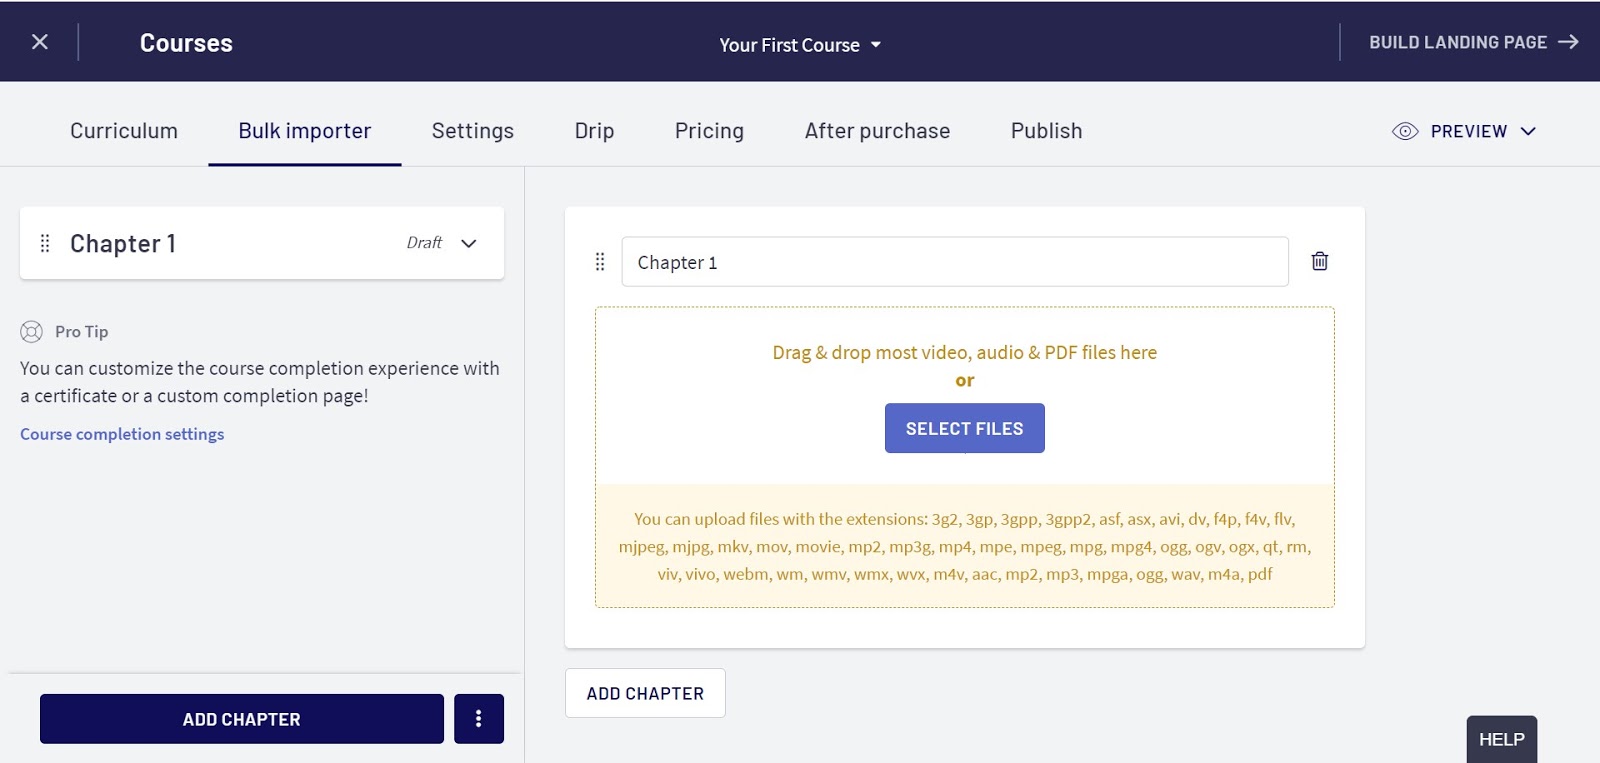
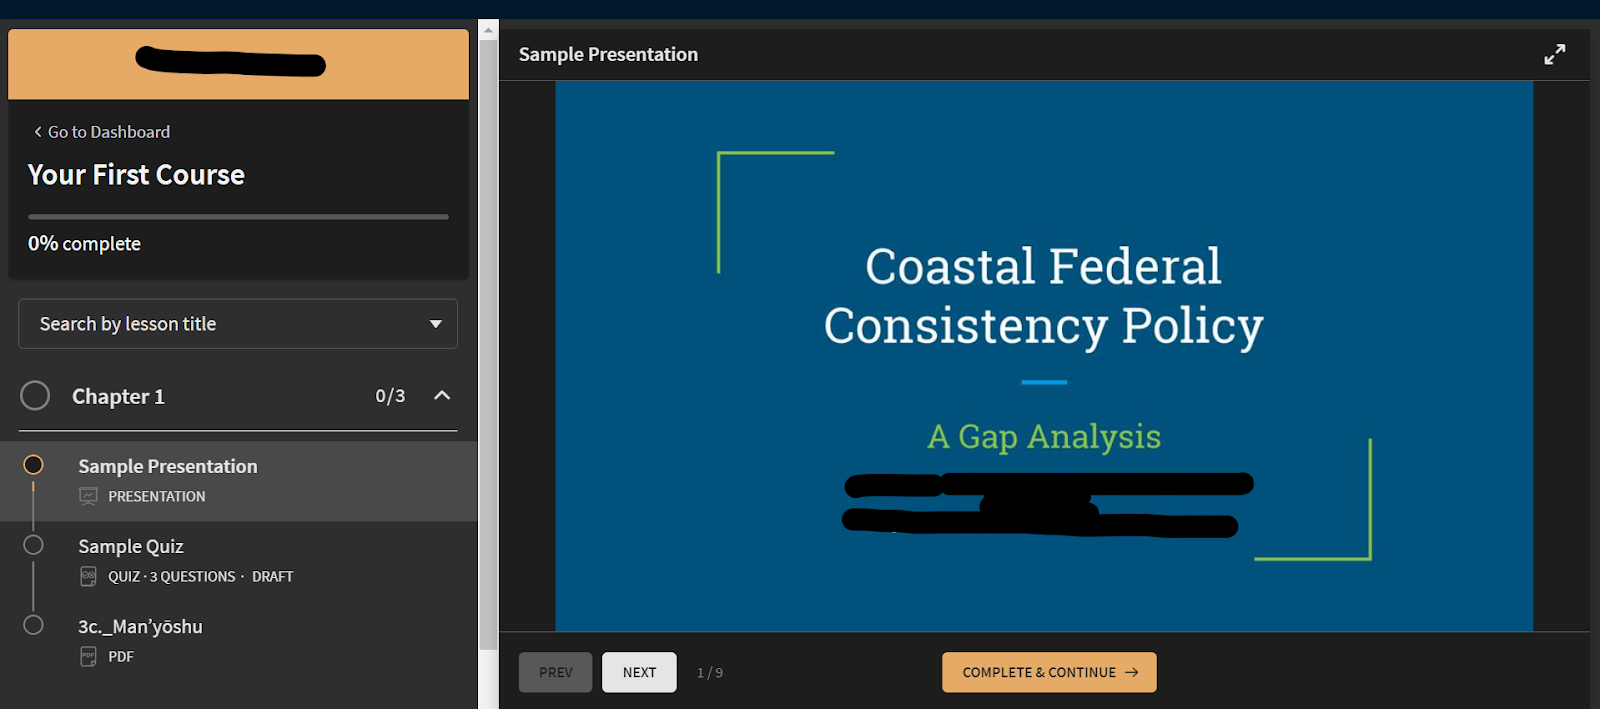
From your dashboard, select a course template or start from blank. Name your course and add chapters by clicking “Add Chapters.” Within each chapter, add lessons by uploading video, audio, PDFs, or text content. Use the Bulk Importer to upload multiple files at once.
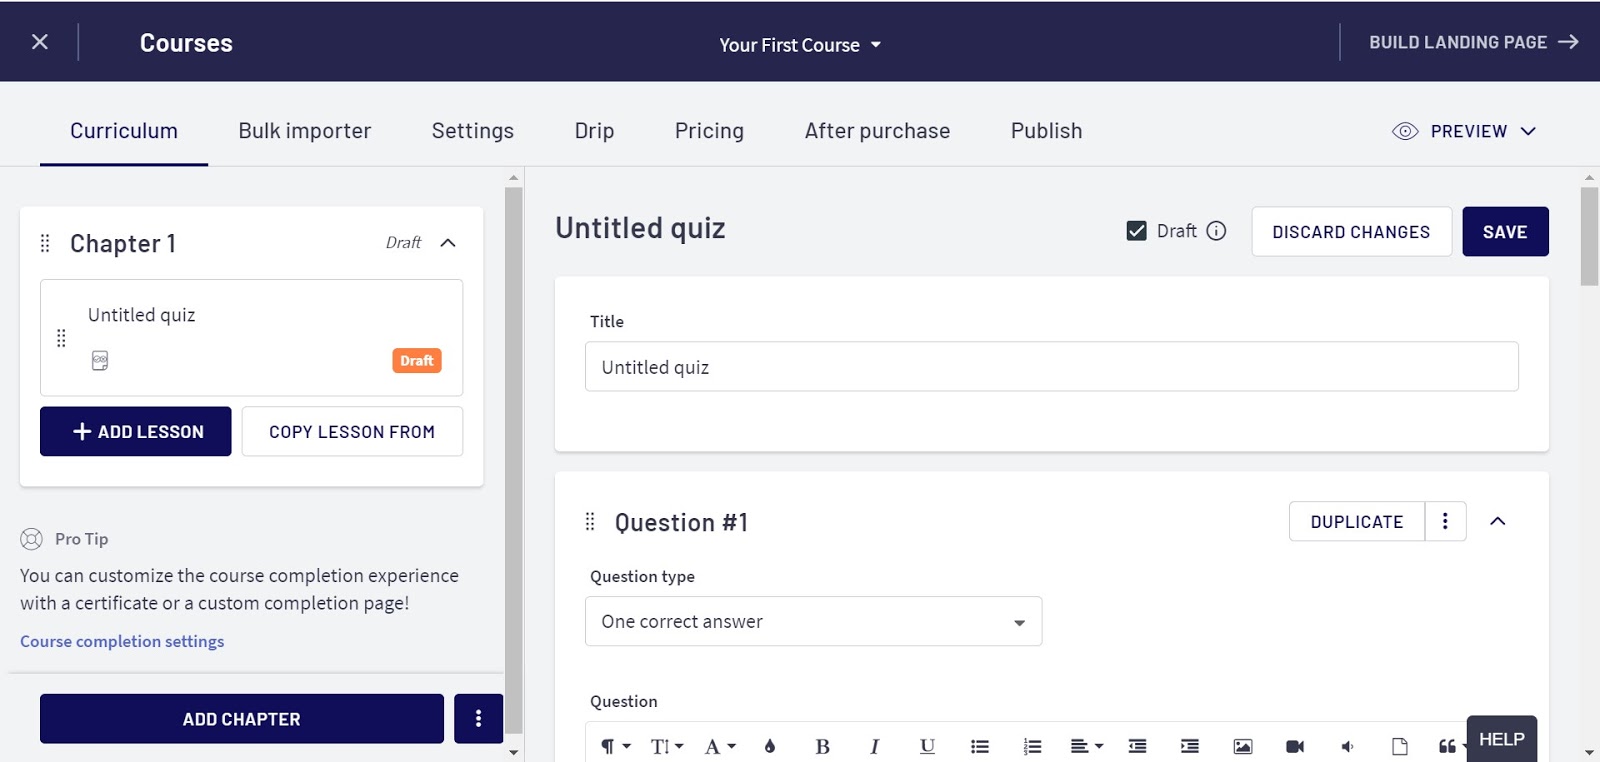
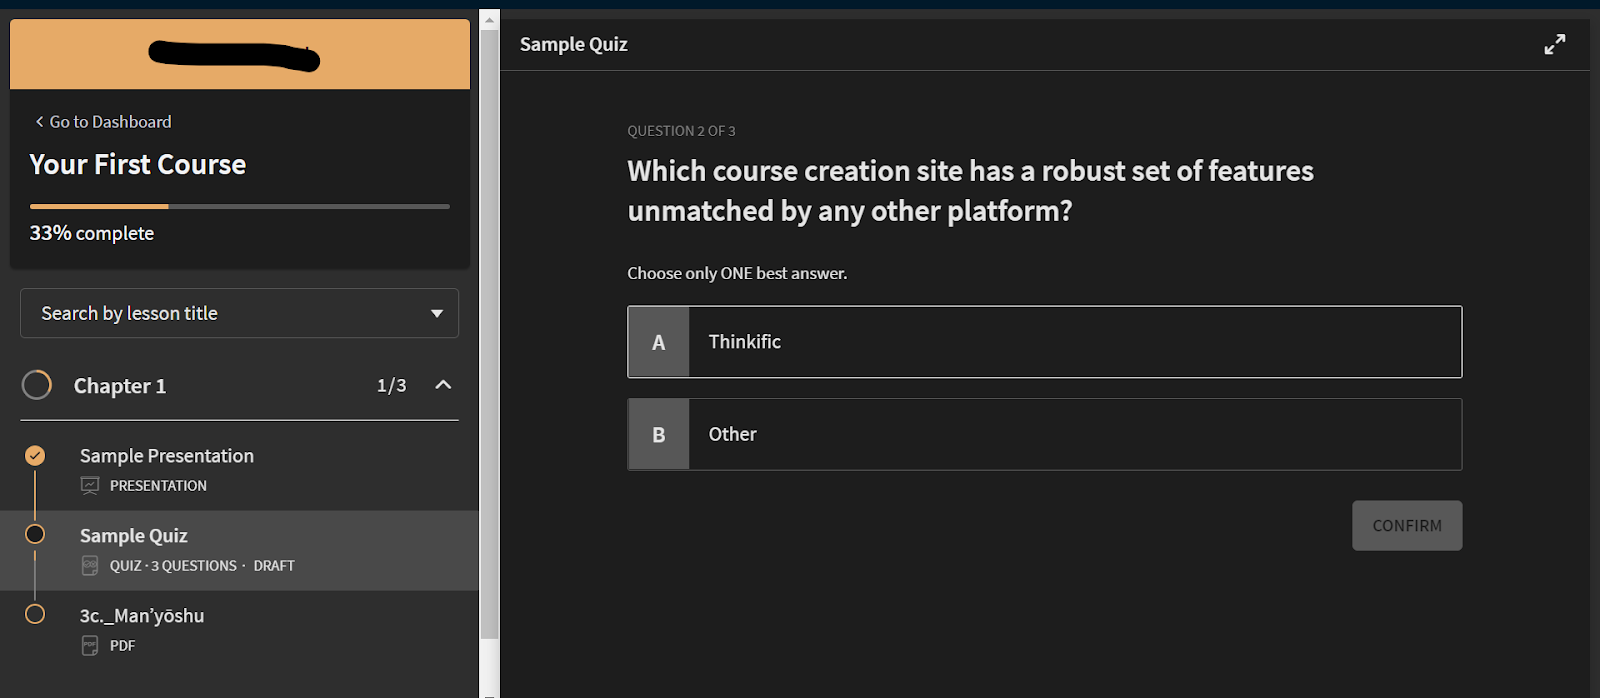
Add quizzes by clicking “Add Lesson” and selecting “Quiz.” You can create fully customized question sets with multiple answer types. Set pricing for each course under “Pricing”: free, one-time payment, subscription, or installment plan (subscription and payment plans require Start plan or above).
3. Customize Your Course Landing Page
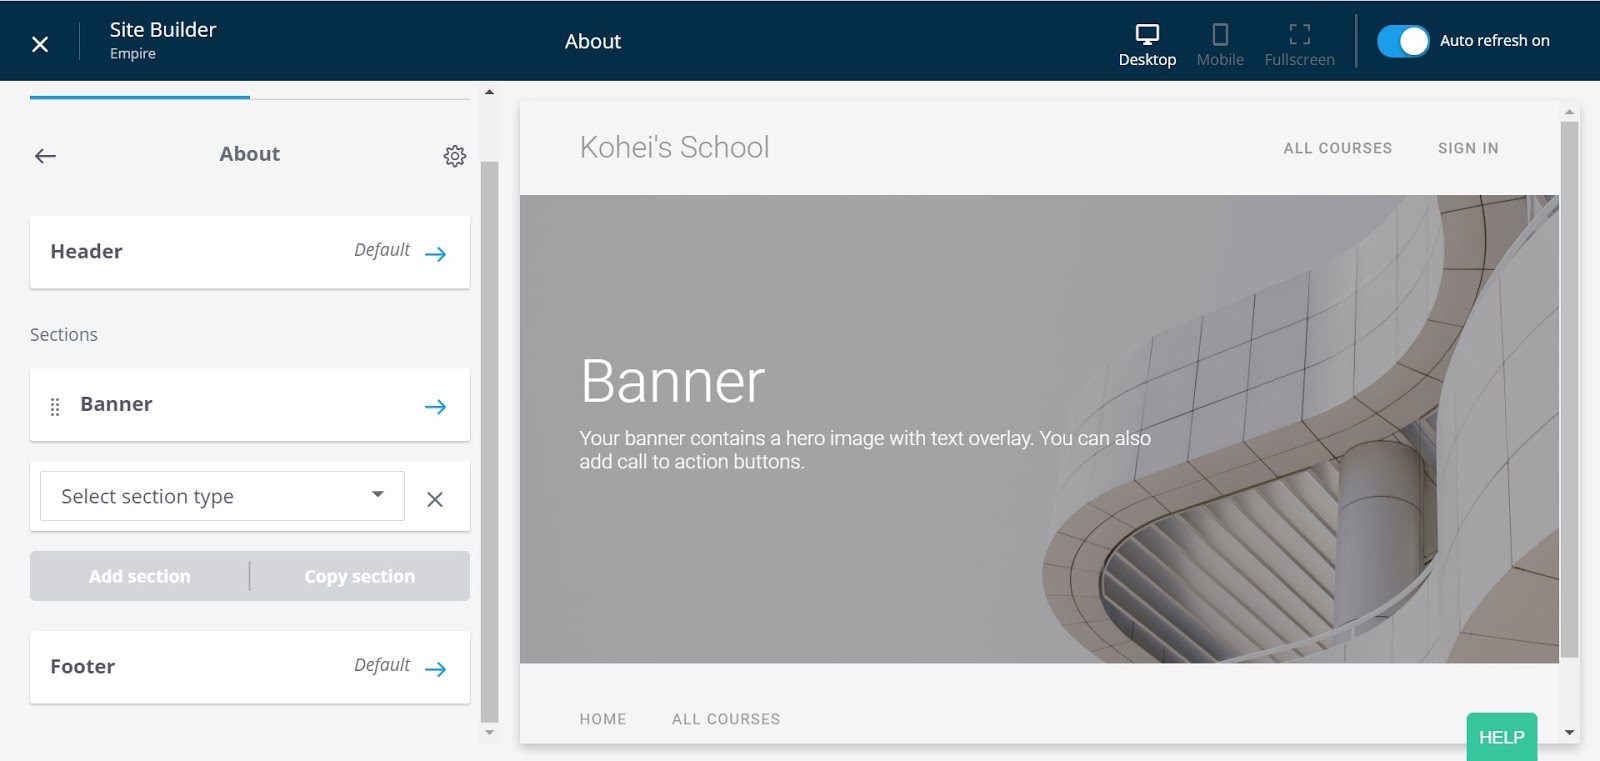
A strong landing page is what converts visitors into students. Click “Build A Landing Page” to start. The key components of an effective landing page are a proper banner, course description, curriculum display, instructor bio, FAQs, testimonials, and a clear call to action.
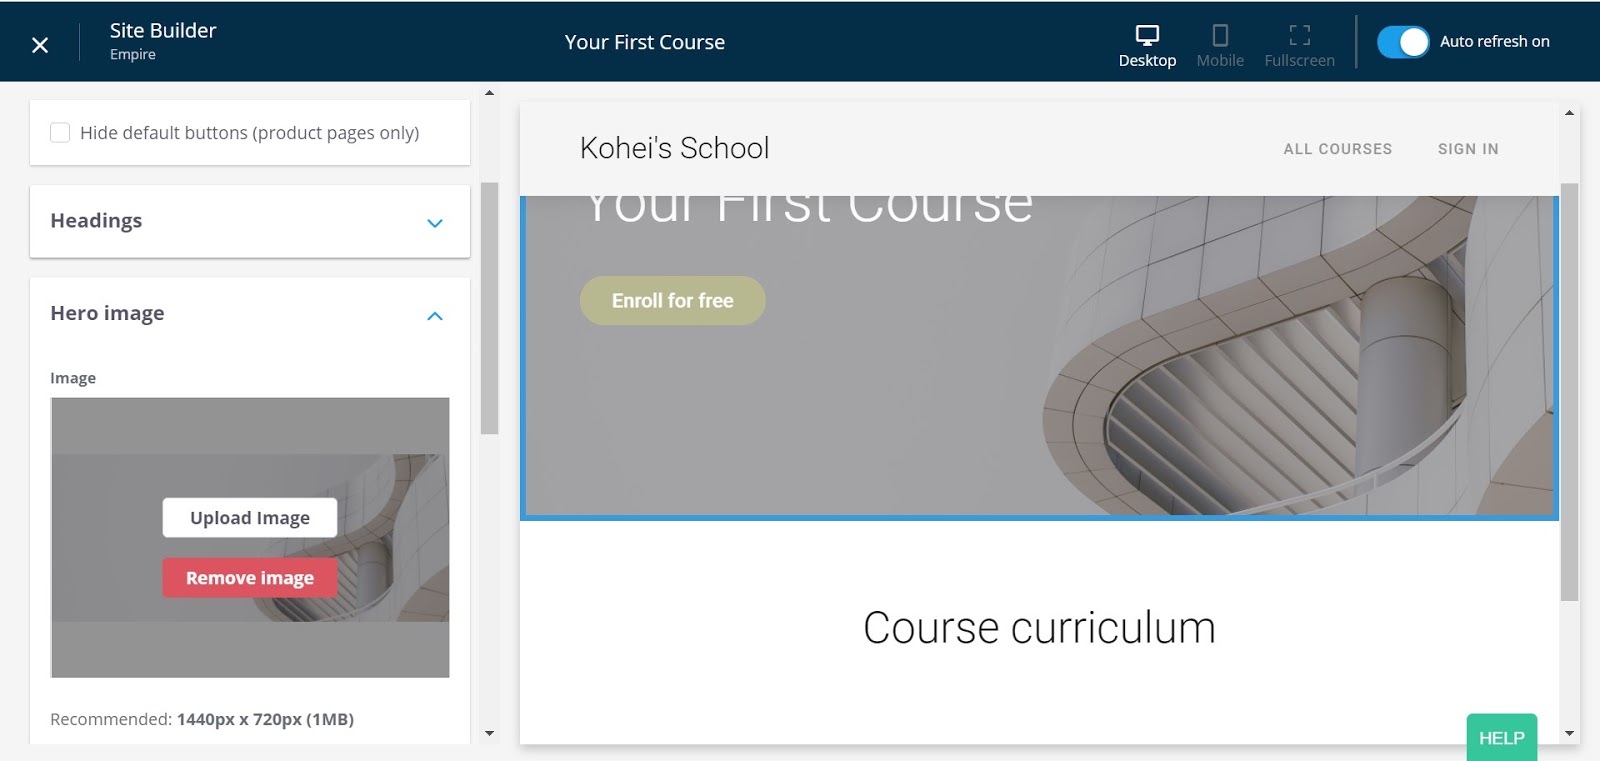
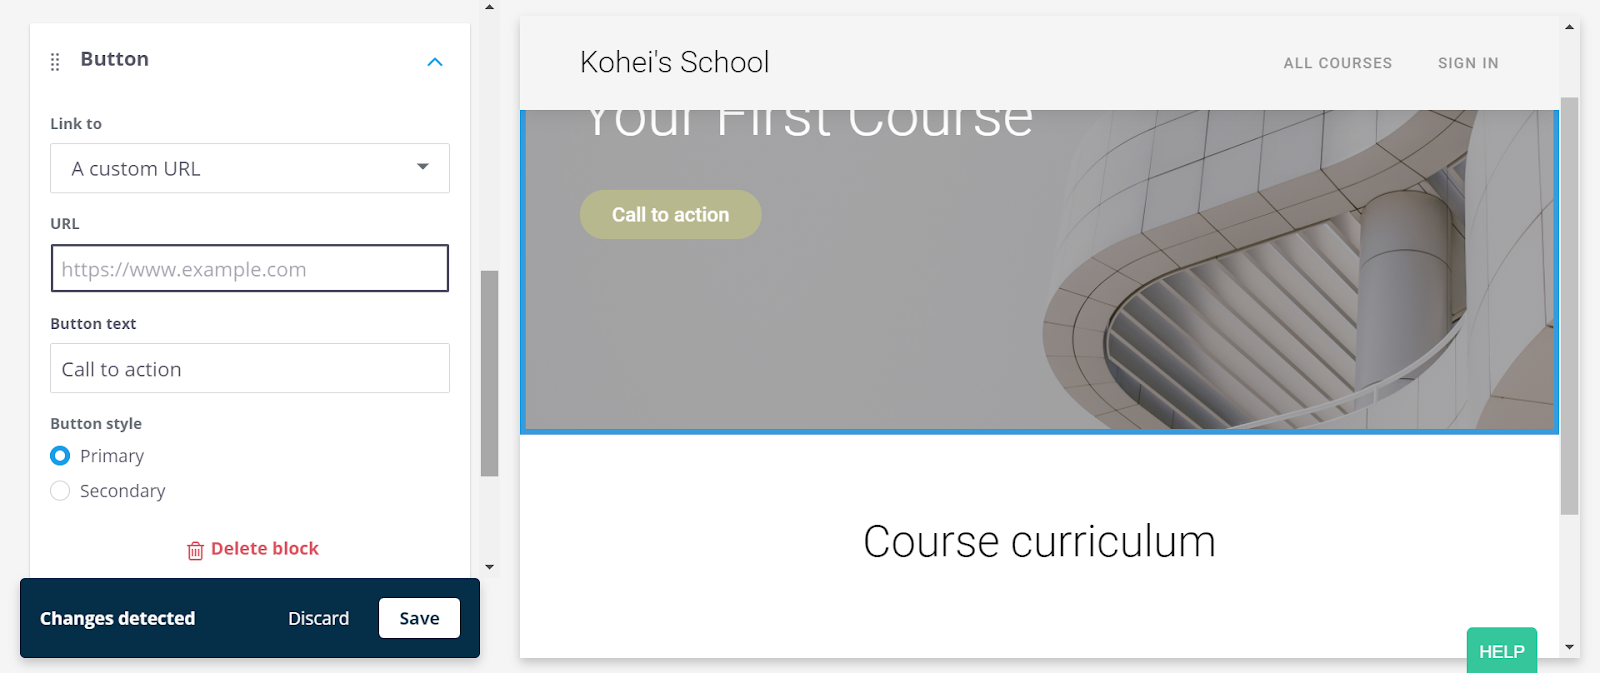
Use “Add Section” to add each component and select from the template types available. Thinkific provides pre-built templates for bios, FAQs, testimonials, and CTAs that make this process fast even for non-designers.
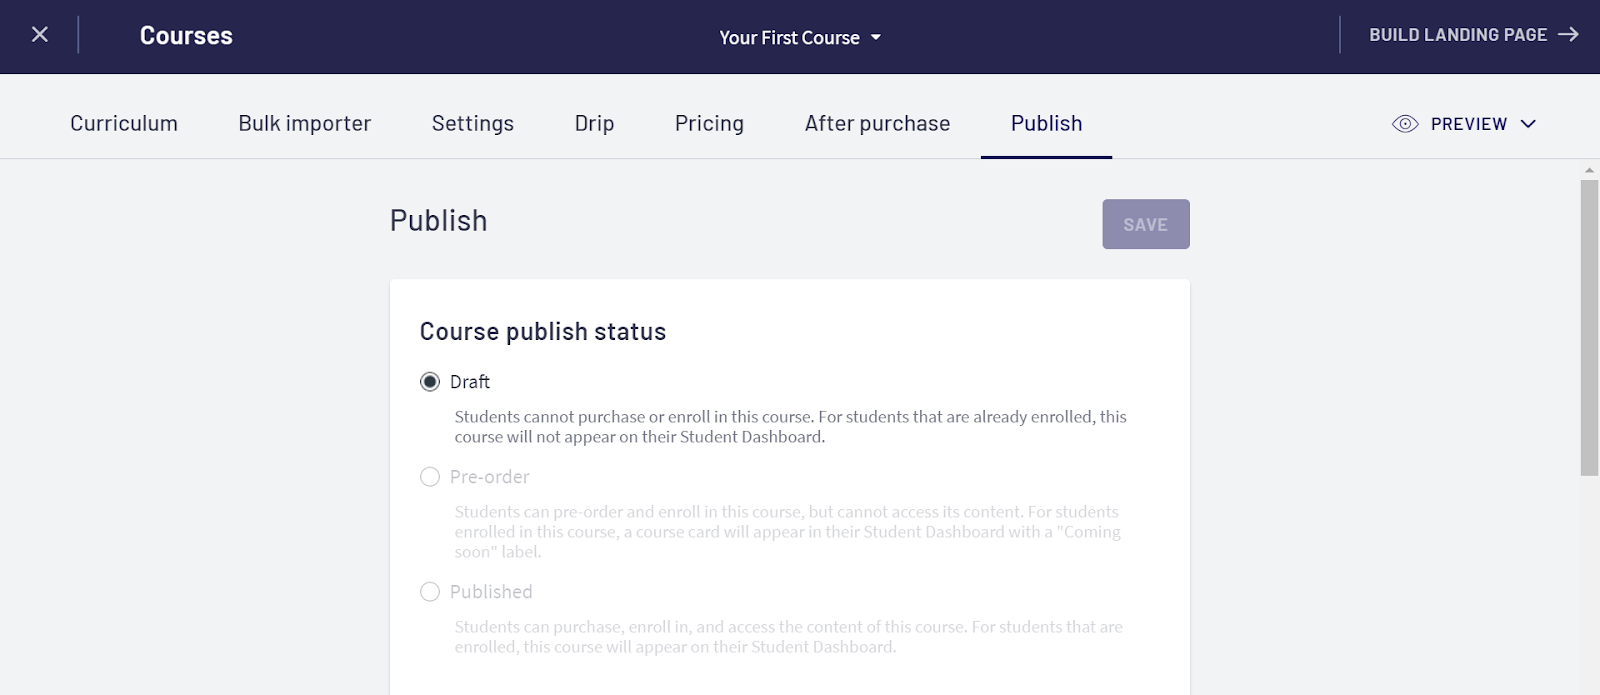
4. Publish Your Course
Once your landing page is ready, go to Manage Learning Content, select your course, and click Publish. After publishing, use the preview mode to experience the course as a student before sharing it publicly.
See for yourself with a 30-day free trial
Explore how easy it is to create, market, and sell your own online course.
Start Free TrialAlternatives to Thinkific
Thinkific is our top pick out of all online learning platforms, but here are our reviews of the other top options if you want to compare:
- Teachable: Read our full review | Thinkific vs Teachable comparison | Guide to migrating to Teachable
- Kajabi: Read our full review | Kajabi vs Thinkific comparison | Guide to migrating to Thinkific
- Podia: Read our full review
- LearnDash: Read our full review
- Udemy: Read our full review
Here's a quick platform comparison:
| Platform | Starting Price | Transaction Fees | Free Plan | Best For |
|---|---|---|---|---|
| Thinkific | $49/mo ($36 annual) | 0% (own Stripe adds 1-5%) | No (14-day trial) | Focused course delivery |
| Kajabi | $179/mo ($143 annual) | 0% (Kajabi Payments) | No (14-day trial) | All-in-one with email and funnels |
| Teachable | $39/mo ($29 annual) | 7.5% on Starter, 0% on Builder+ | Limited (10 students, 10%+$1) | Simple course delivery |
| Podia | $39/mo ($33 annual) | 5% on Mover, 0% on Shaker | No (30-day trial) | Digital products and downloads |
| Udemy | Free to publish | 37-63% revenue share | Yes (marketplace model) | Marketplace reach, no marketing |
Tips for Creating and Selling Your First Course

Creating and selling courses is one of the most scalable ways to build passive income. If you've got a great idea, the temptation is to dive straight into a full course and spend months on content creation and production. I'd suggest a smarter approach first.
Before investing months building out a full course, set up a mini-course in your niche. Pick one topic or chapter of your planned course and use that as your proof of concept. Offer it for free or a nominal fee to your existing audience, social media followers, or through a small paid campaign.
At the end of the mini-course, add a survey and ask students what could be improved and what topics they want to learn next. This way, you can tailor your full course to what students actually want. Collect email addresses so you can notify them when the full course launches and hit the ground running with real demand already established.
Frequently Asked Questions
Is Thinkific legit?
Yes, Thinkific is a legitimate, publicly traded company (Toronto Stock Exchange: THNC). Founded in 2012 in Vancouver, Canada, it reported $66.9 million in revenue in 2024 and serves 60,000+ active course creators worldwide.
Is Thinkific safe?
Yes. Courses cannot be accessed by unauthorized users. Only enrolled students with active accounts. Thinkific includes content permission controls that prevent students from downloading videos and a feature that can prevent text copying within course content. The platform is SOC2 compliant.
Does Thinkific own your content?
No. Course creators have 100% ownership over the content they publish on Thinkific.
Is Thinkific mobile-friendly?
Yes. Thinkific courses are fully mobile-responsive. There is also a white-labeled mobile app available as an add-on on the Basic plan and above ($199/month extra). Students can access courses on any phone, tablet, or computer.
Is Thinkific easy to use?
Yes, relatively so. The interface is clean and well-organized, and Thinkific's guided onboarding and AI course outline generator (added in 2024) make the initial setup faster than it used to be. There's still a learning curve for more advanced features, but Thinkific's documentation and support resources are comprehensive.
Who uses Thinkific?
Thinkific is used by 60,000+ individual course creators as well as enterprise clients, including Samsung, Intuit, Hootsuite, and AWeber.
Is Thinkific free?
No. Thinkific removed its free plan in 2025 and replaced it with a 14-day free trial (no credit card required). After the trial, the lowest paid plan is Basic at $49/month ($36/month billed annually). If you need a truly free starting point with no time limit, Teachable's free tier allows 1 course (with a steep 10%+$1 fee per sale), or Systeme.io offers a free plan with courses and email up to 2,000 contacts.
Does Thinkific charge transaction fees?
Thinkific charges 0% platform transaction fees on all paid plans. However, if you use your own Stripe account instead of Thinkific's built-in TCommerce processor, Thinkific adds a processing surcharge: 5% on Basic, 2% on Start, 1% on Grow. Using TCommerce avoids this surcharge entirely. Standard payment processing fees from Stripe or PayPal still apply regardless of which processor you use.
Does Thinkific take a percentage of sales?
No platform cut or commission, as long as you're on a paid plan. Thinkific makes money on subscriptions, not revenue share. The caveat is the Stripe surcharge mentioned above if you're not using TCommerce.
Is Thinkific better than Teachable?
For most creators, yes. Thinkific has 0% transaction fees on all paid plans (Teachable charges 7.5% on its Starter plan), more customization options, and phone support on the Grow plan. Teachable's advantages are a slightly faster initial setup and more flexible lesson builders. See our full Thinkific vs Teachable comparison for a detailed breakdown.
Is Thinkific an LMS?
Yes. Thinkific is a web-based learning management system (LMS) used to deliver training courses and educational content in written, video, and interactive formats.
Where is Thinkific located?
Thinkific is headquartered at 369 Terminal Ave #400, Vancouver, BC, Canada. It is publicly traded on the Toronto Stock Exchange under the ticker THNC.